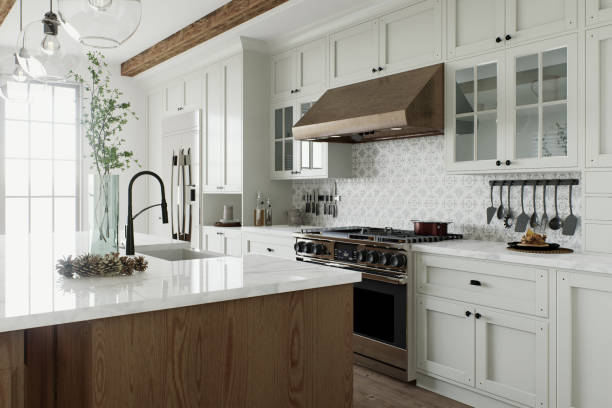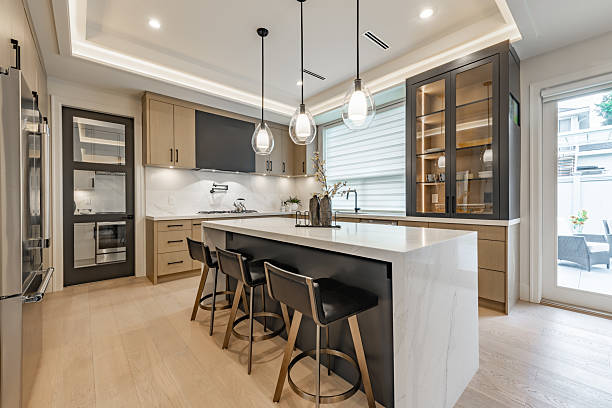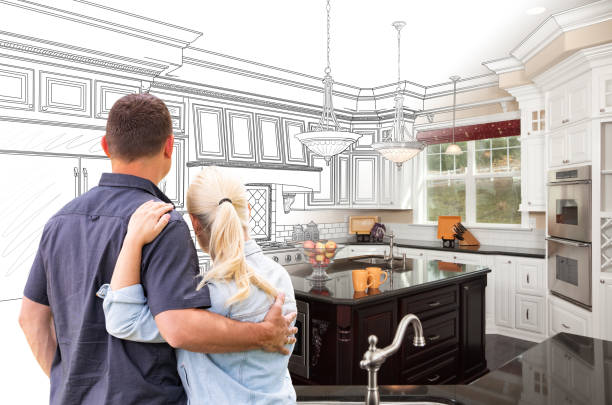
Expert Backsplash Installation in Cheyney, PA

The right backsplash tile anchors your entire kitchen design

We bring both craftsmanship and design awareness to every kitchen.

🏆 Licensed & Insured
📐 Precision Layout Planning
💧 Full Waterproofing
⭐ 5-Star Rated in Cheyney

Backsplash Tile Services in Cheyney

Your kitchen deserves tile work that stands out -- and we tailor every installation to your style, your space, and your budget.

🧱

Subway Tile & Brick Pattern

Classic subway and brick-bond layouts remain the most versatile backsplash choice in modern kitchens. We handle offset spacing, grout joint sizing, and edge transitions for a clean, timeless result.

Learn More
📐

Herringbone & Chevron Layout

Angular patterns like herringbone and chevron require precise angle cutting and careful starting-point selection. Our installers map the full layout on paper before a single tile is set.

Learn More
🪨

Large-Format Porcelain Slab

Slab-style porcelain with minimal grout lines creates a seamless, dramatic wall surface. Handling large-format tile demands specialized tools and an experienced crew to prevent cracking and lippage.

Learn More
💎

Glass & Mosaic Tile

Glass and mosaic installations demand thin-set selection, back-buttering technique, and careful grout color matching. We bring the right materials and the attention to detail these surfaces require.

Learn More
🌿

Natural Stone Backsplash

Marble, travertine, and slate add warmth and texture, but natural stone requires sealing, careful adhesive selection, and an understanding of stone movement to prevent cracking over time.

Learn More
🔝

Full-Height Kitchen Backsplash

Running tile from countertop to ceiling is one of the boldest kitchen design moves available. We handle the structural prep, electrical outlet extensions, and upper cabinet transitions to finish this job right.

Learn More
Backsplash installation in Cheyney by JMT Kitchen Cabinet
15+ Years Installing Tile

Why Tile Layout and Waterproofing Are the Real Work

Most homeowners focus on choosing a tile color -- but at JMT Kitchen Cabinet, we know the real craftsmanship happens before the tile even goes up. The starting point of any tile layout determines whether grout lines run parallel to your cabinets and countertops or drift at an angle that becomes more obvious as the eye travels across the wall. Experienced installers mark a center point on the focal wall, dry-lay a full row to preview how tiles will land at corners and outlets, and adjust the starting course so cuts are symmetrical and consistent on both sides of the space.

Pattern selection is equally consequential. A horizontal brick bond makes a low-ceilinged kitchen feel taller by drawing the eye laterally. A vertical stack pattern does the opposite -- it adds perceived height but can feel static in wide kitchens. Herringbone placed on a 45-degree diagonal creates energy and movement, while a straight herringbone running horizontally has a more refined, structured feel. We walk every client through these options before any adhesive is mixed.

Waterproofing is the step most DIY projects skip -- and the one most likely to cause expensive damage down the road. The wall behind your backsplash in the splash zone, particularly behind the range and near the sink, can experience repeated moisture exposure over years of daily use. Without a proper moisture barrier between the substrate and the tile adhesive, water migrates behind the tile, breeds mold, and eventually compromises the adhesive bond. JMT Kitchen Cabinet uses membrane waterproofing on all wet-zone backsplash installations and selects thin-set formulations matched to the specific tile type -- modified thinset for glass and natural stone, large-format specific formulas for porcelain slabs over 15 inches, and epoxy grout for behind-range applications where heat and grease resistance matter most.

Every installation starts with a substrate assessment. Drywall that is not fully dried, walls with paint buildup, and surfaces with excessive flex are all addressed before we proceed. Tile installed over an inadequate substrate will crack, pop, and fail regardless of how beautifully it was laid. When we install a backsplash, we are installing it to last -- not just to look good for the first year. That commitment to the underlying work is what separates JMT Kitchen Cabinet from crews that simply press tile to wall and call it done.

Call +1-866-441-2044 for a Free Estimate
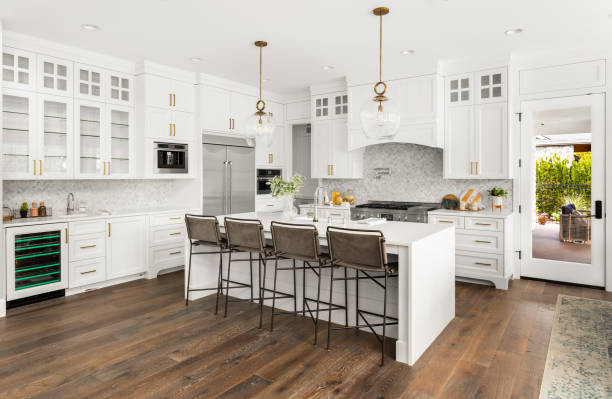
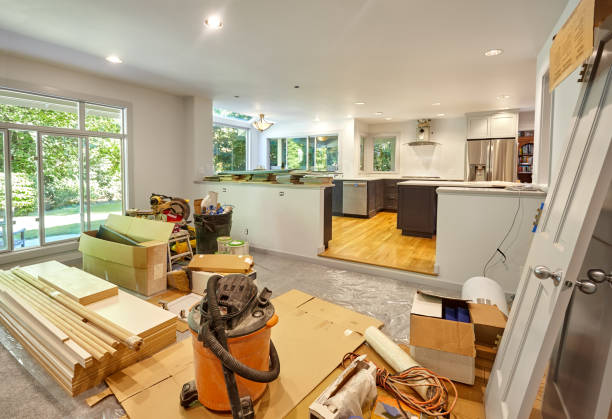
Tile pattern layout planning for backsplash in Cheyney

How Pattern Alignment Changes What Your Eye Sees

A backsplash covers a relatively small surface, but because it occupies the most eye-level real estate in your kitchen, the pattern you choose -- and where it starts -- has an outsized effect on how the room feels.

  • Horizontal patterns widen a narrow kitchen and create calm, grounded visual rhythm
  • Vertical patterns in stacked or elongated tile add perceived ceiling height
  • Diagonal and herringbone patterns add energy -- best balanced with simple cabinetry
  • Starting point determines corner balance -- a tile cut less than half width at one edge looks like an error, not a design choice
  • Grout joint width from 1/16 to 1/4 inch significantly changes the finished look of the same tile
  • Large-format tiles make small spaces feel bigger by reducing visible grout lines
Schedule Your Consultation

Our Backsplash Installation Process

Precision is built into every phase.

1

In-Home Measurement

We measure the full backsplash zone, note outlet positions, cabinet heights, and countertop edge profiles before recommending tile formats.

2

Layout Planning

We dry-lay tiles and mark starting points, ensuring balanced cuts at all edges, corners, and focal points before mixing any adhesive.

3

Surface & Substrate Prep

Old backsplash is removed if needed, substrate is cleaned and primed, and waterproofing membrane is applied in wet zones.

4

Precision Tile Setting

Tiles are set with the correct thin-set formula, back-buttered for full coverage, and leveled with clip systems to eliminate lippage.

5

Grouting & Sealing

Grout is applied, tooled, and cleaned in multiple passes. Stone and unsealed tile receive a quality penetrating sealer after cure.

Real Reviews from Real Clients

★★★★★
I was amazed at how much attention JMT Kitchen Cabinet put into planning the layout before anything was installed. They dry-laid the whole thing, showed me exactly where cuts would fall, and adjusted the starting point so the pattern looked centered. The herringbone backsplash looks like it came from a design magazine.
CR
Carmen R.
Cheyney, PA
★★★★★
It surprised us to learn that waterproofing behind the backsplash was even a thing. The JMT Kitchen Cabinet crew explained the whole process -- the moisture membrane, the grout type near the range, all of it. Two years in and the tile looks exactly as it did on day one.
ES
Ethan & Molly S.
Cheyney, PA
★★★★★
Going all the way up was the design choice I kept putting off -- and JMT Kitchen Cabinet made it happen without the chaos I expected. They handled the outlet extensions, the transition at the upper cabinets, everything. The finished kitchen is unrecognizable in the best way.
YT
Yuki T.
Cheyney, PA

Backsplash Installation FAQs

How do I choose the right tile layout pattern? +
Choosing a layout pattern begins with understanding how your kitchen is oriented. In narrow kitchens, horizontal running-bond patterns make the room feel wider and more open. Kitchens with low ceilings benefit from vertical stacking or elongated tile formats that pull the eye upward. Herringbone patterns add energy and texture and work best in kitchens with clean-lined cabinetry that won't compete visually. Large-format tile with minimal grout lines is ideal for smaller kitchens because it reduces visual clutter and makes the space feel larger. Our team will walk you through options based on your specific room dimensions and style goals.
Do I need to remove the old backsplash first? +
Removal is typically recommended. Tiling over existing tile is technically possible but creates compounding problems: the added thickness can conflict with outlet boxes, the combined weight stresses the substrate, and any movement in the lower tile layer eventually cracks the tile above it. More importantly, tiling over old tile hides substrate problems -- moisture damage, mold, loose backing -- that will cause the new tile to fail. We assess the existing surface before making a recommendation. When the substrate is sound and the existing tile is firmly bonded, a tile-over-tile approach can occasionally be appropriate. In most residential kitchens, starting fresh gives a better, longer-lasting result.
How long does backsplash installation take? +
A standard kitchen backsplash typically takes one to two days. Day one covers removal of the old backsplash if applicable, substrate preparation, waterproofing application, and tile setting. Grout is usually applied on day two after the thin-set has cured. Complex patterns like herringbone, intricate mosaic work, or full-height installations may require an additional day. The backsplash should cure for 24 to 48 hours before heavy use and cleaning. We give you a realistic timeline at consultation so you can plan your kitchen use accordingly.
What behind-range tile is heat-resistant enough for a backsplash? +
Heat resistance behind a range is a real consideration. Ceramic, porcelain, and natural stone are all suitable for behind-range use -- they are made from minerals that are inherently heat-stable. Glass tile can be used in this zone but requires high-temperature rated adhesive and care in the selection of expansion joint placement, since glass expands at a different rate than most substrates. The bigger concern in the behind-range zone is typically grease and cleaning: glazed ceramic and porcelain wipe clean easily, while unsealed natural stone and matte-finish tile require periodic sealing to resist staining. We recommend and use epoxy grout behind ranges because it is non-porous and resists heat, grease, and discoloration better than standard cementitious grout.
Can backsplash tile go all the way to the ceiling? +
Full-height backsplash is a bold, design-forward choice that works beautifully in kitchens with strong cabinetry lines. The technical considerations include electrical outlet extension (outlet boxes are typically recessed into the wall and must be brought forward to be flush with the new tile surface), transition management at the top of upper cabinets, and the additional tile weight load over a larger surface area. Our team handles all of these details as part of the project scope. We also plan the layout so the tile pattern reads coherently from countertop to ceiling, which requires careful consideration of where full tiles fall versus cut pieces at the top.
How do I keep grout from staining after installation? +
The answer to grout staining begins before the project is finished. Behind the range and sink, we recommend epoxy grout because it is non-porous and requires no sealing. For the rest of the backsplash, unsanded or sanded cementitious grout in a medium to dark tone is the most forgiving for long-term maintenance. Light-colored grout in a kitchen will require periodic cleaning and resealing -- typically once a year in high-use kitchens. After installation, we apply a penetrating sealer to all cementitious grout joints. For ongoing care, a pH-neutral cleaner and a grout brush are all that is typically needed. We walk every client through the specific maintenance routine for the grout and tile combination we installed in their kitchen.

Ready to Transform Your Kitchen Walls?

Our tile team serves all of Cheyney and nearby communities with the precision and attention to detail your kitchen deserves.

Call +1-866-441-2044 Today

Our Services in Cheyney, PA

📞
🟢 Techs On Duty in Cheyney, PA Call +1-866-441-2044